1
2
3
4
5
6
7
8
9
10
11
12
13
14
15
16
17
18
19
20
21
22
23
24
25
26
27
28
29
30
31
32
33
34
35
36
37
38
39
40
41
42
43
44
45
46
47
48
49
50
51
52
53
54
55
56
57
58
59
60
61
62
63
64
65
66
67
68
69
70
71
72
73
74
75
76
77
78
79
80
81
82
83
84
85
86
87
88
89
90
91
92
| [
{'objects':
[
{'label': 'obj_000001',
'name': 'obj_000001',
'TWO': array([[-0.02062261, -0.99870347, -0.04654345, -0.05380909],
[ 0.99854439, -0.022895 , 0.04883047, 0.00189095],
[-0.04983272, -0.04546878, 0.9977229 , 0.07060698],
[ 0. , 0. , 0. , 1. ]]),
'T0O': array([[-0.02062261, -0.99870347, -0.04654345, -0.05380909],
[ 0.99854439, -0.022895 , 0.04883047, 0.00189095],
[-0.04983272, -0.04546878, 0.9977229 , 0.07060698],
[ 0. , 0. , 0. , 1. ]]),
'visib_fract': 0.7769277845777234,
'id_in_segm': 1,
'bbox': [347, 210, 467, 374]},
{'label': 'obj_000006',
'name': 'obj_000006',
'TWO': array([[-0.40056693, 0.91475543, -0.05262471, 0.03103553],
[-0.91622629, -0.39934108, 0.03248866, -0.02365388],
[ 0.00870386, 0.06123014, 0.9980863 , 0.01391488],
[ 0. , 0. , 0. , 1. ]]),
'T0O': array([[-0.40056693, 0.91475543, -0.05262471, 0.03103553],
[-0.91622629, -0.39934108, 0.03248866, -0.02365388],
[ 0.00870386, 0.06123014, 0.9980863 , 0.01391488],
[ 0. , 0. , 0. , 1. ]]),
'visib_fract': 0.9990349353406678,
'id_in_segm': 2,
'bbox': [328, 343, 422, 405]},
{'label': 'obj_000014',
'name': 'obj_000014',
'TWO': array([[ 0.24178672, -0.96941339, -0.04215706, -0.05206396],
[ 0.96977496, 0.2399519 , 0.0442575 , 0.0179453 ],
[-0.03278805, -0.05158388, 0.99813144, 0.16636215],
[ 0. , 0. , 0. , 1. ]]),
'T0O': array([[ 0.24178672, -0.96941339, -0.04215706, -0.05206396],
[ 0.96977496, 0.2399519 , 0.0442575 , 0.0179453 ],
[-0.03278805, -0.05158388, 0.99813144, 0.16636215],
[ 0. , 0. , 0. , 1. ]]),
'visib_fract': 0.9938250428816466,
'id_in_segm': 3,
'bbox': [372, 143, 490, 241]},
{'label': 'obj_000019',
'name': 'obj_000019',
'TWO': array([[-0.69888905, 0.1926738 , -0.68878937, 0.01412755],
[ 0.711967 , 0.27928957, -0.64428215, 0.05127768],
[ 0.06823575, -0.94067797, -0.33237011, 0.06472594],
[ 0. , 0. , 0. , 1. ]]),
'T0O': array([[-0.69888905, 0.1926738 , -0.68878937, 0.01412755],
[ 0.711967 , 0.27928957, -0.64428215, 0.05127768],
[ 0.06823575, -0.94067797, -0.33237011, 0.06472594],
[ 0. , 0. , 0. , 1. ]]),
'visib_fract': 0.9890470974808324,
'id_in_segm': 4,
'bbox': [419, 222, 527, 410]},
{'label': 'obj_000020',
'name': 'obj_000020',
'TWO': array([[-0.74512542, -0.66691536, 0.00352083, 0.07854437],
[-0.6669148 , 0.74507458, -0.00940455, -0.15283599],
[ 0.00364864, -0.00935569, -0.99995023, 0.01854317],
[ 0. , 0. , 0. , 1. ]]),
'T0O': array([[-0.74512542, -0.66691536, 0.00352083, 0.07854437],
[-0.6669148 , 0.74507458, -0.00940455, -0.15283599],
[ 0.00364864, -0.00935569, -0.99995023, 0.01854317],
[ 0. , 0. , 0. , 1. ]]),
'visib_fract': 0.9953060637992145,
'id_in_segm': 5,
'bbox': [92, 328, 288, 442]}],
'camera':
{'T0C': array([[-0.0792652 , 0.241296 , -0.967209 , 0.946419 ],
[ 0.996102 , 0.0568396 , -0.0674529 , -0.02116569],
[ 0.0386997 , -0.968786 , -0.244861 , 0.36645836],
[ 0. , 0. , 0. , 1. ]]),
'K': array([[1.066778e+03, 0.000000e+00, 3.129869e+02],
[0.000000e+00, 1.067487e+03, 2.413109e+02],
[0.000000e+00, 0.000000e+00, 1.000000e+00]]),
'TWC': array([[-0.0792652 , 0.241296 , -0.967209 , 0.946419 ],
[ 0.996102 , 0.0568396 , -0.0674529 , -0.02116569],
[ 0.0386997 , -0.968786 , -0.244861 , 0.36645836],
[ 0. , 0. , 0. , 1. ]]),
'resolution': torch.Size([480, 640])},
'frame_info':
{
'scene_id': 48,
'cam_id': 'cam',
'view_id': 1626,
'cam_name': 'cam',
'group_id': 0
}
},
...
]
|



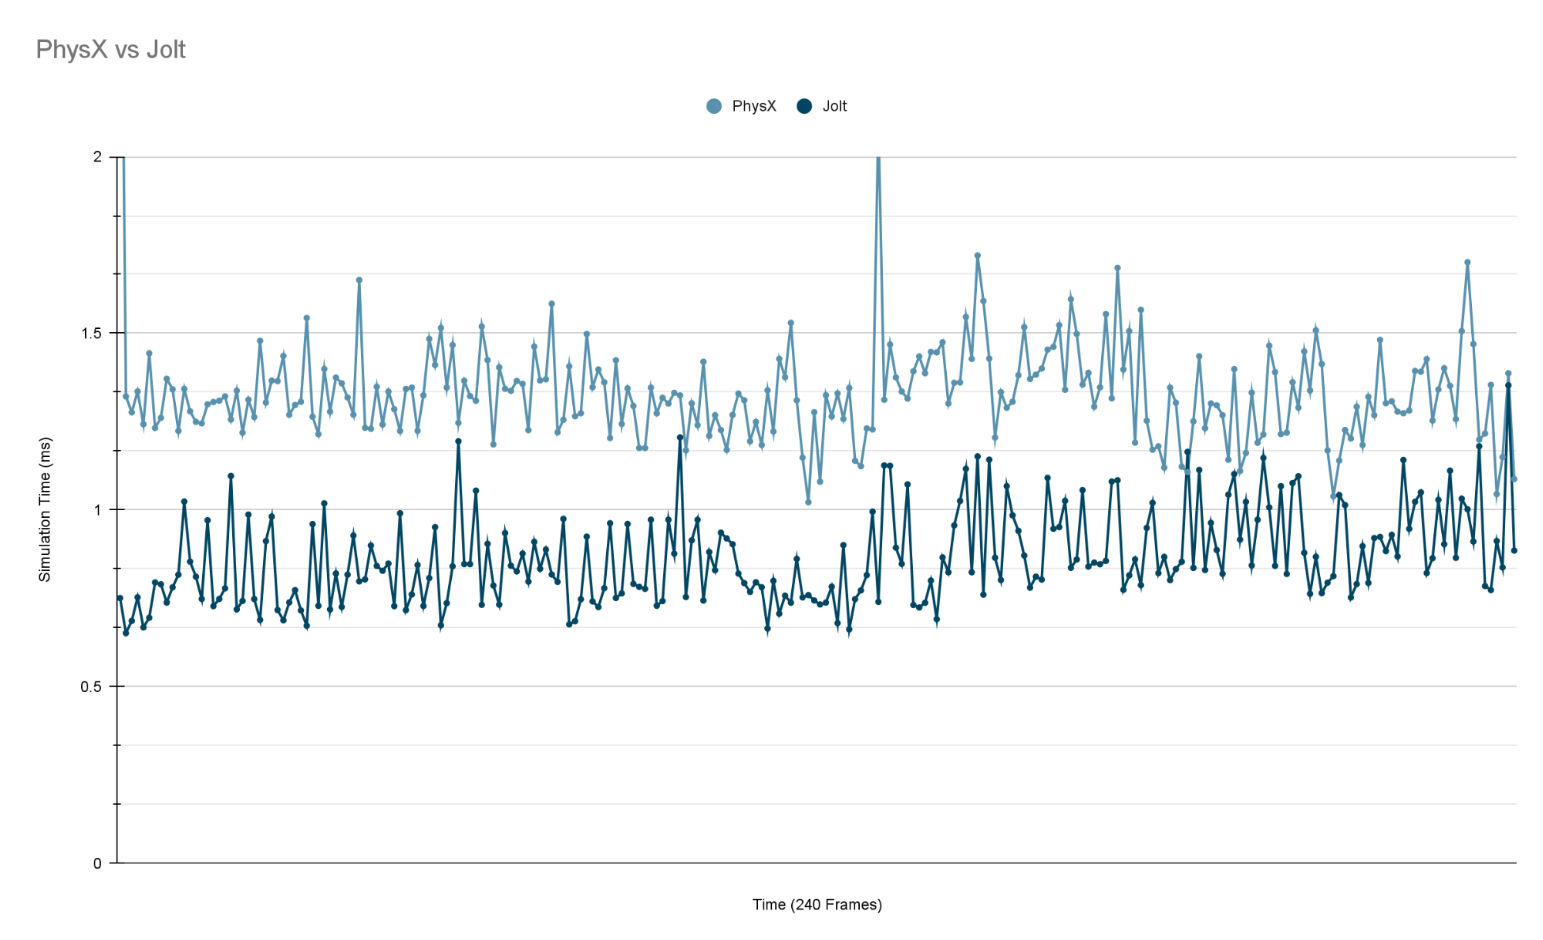
/Pasted_image_20241027192407.png)
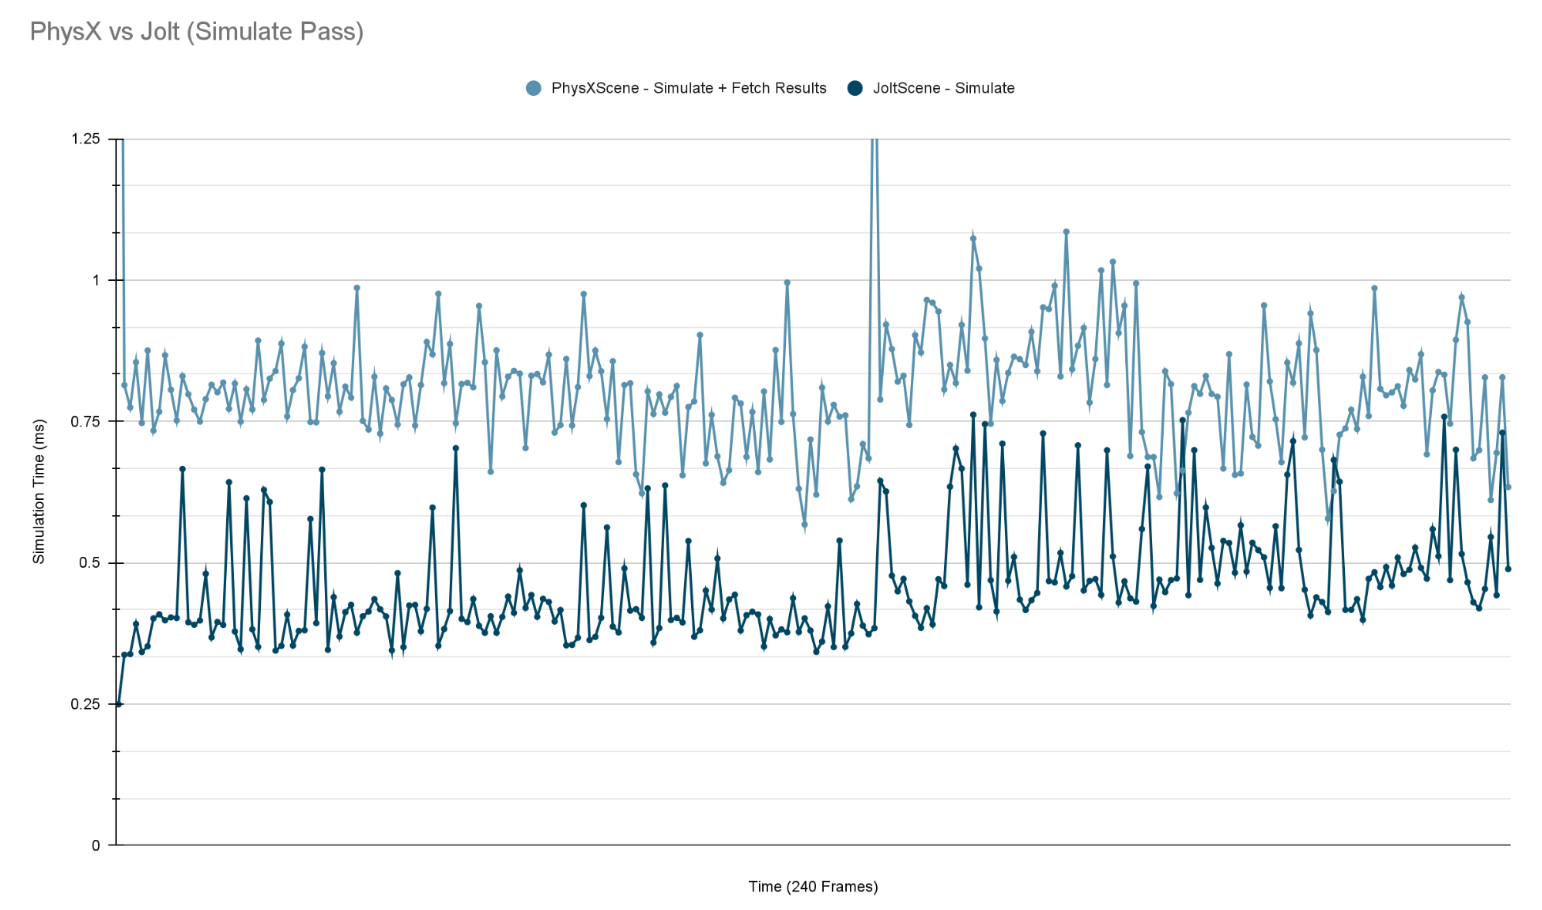
/Pasted_image_20241027220857.png)
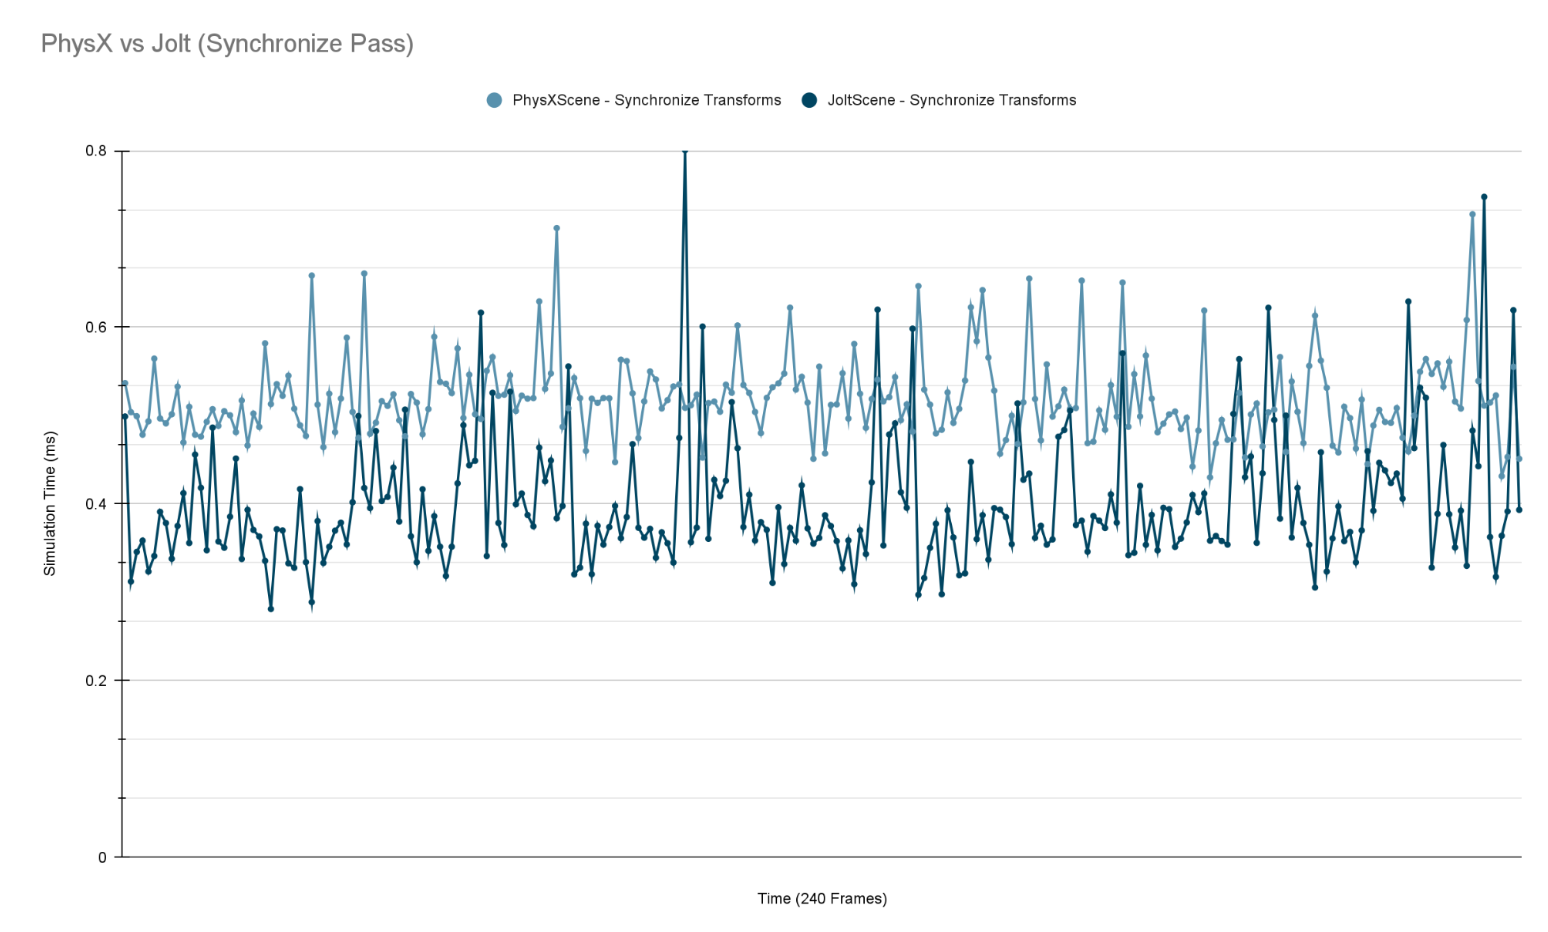
/Pasted_image_20241027221104.png)
/Pasted_image_20241027222139.png)


