Use SSH to Connect TensorboardX
使用ssh作为命令行远程工具,启动远程的tensorboardx并且在本地的浏览器中打开。
远程运行:
1 | tensorboard --logdir <path> --port 6006 |
本地运行:
1 | ssh -N -f -L localhost:16006:localhost:6006 bohan@10.11.16.146 |
Use SSH to Connect TensorboardX
使用ssh作为命令行远程工具,启动远程的tensorboardx并且在本地的浏览器中打开。
远程运行:
1 | tensorboard --logdir <path> --port 6006 |
本地运行:
1 | ssh -N -f -L localhost:16006:localhost:6006 bohan@10.11.16.146 |
使用mpm安装(https://wiki.archlinux.org/title/MATLAB)
Download mpm from https://www.mathworks.com/mpm/glnxa64/mpm and make it executable.
安装:
1 | ./mpm install --release=R2024b --destination=/home/cyl/matlab MATLAB |
安装后启动完成lisense注册后使用patch(https://bbs.archlinux.org/viewtopic.php?id=303177)
1 | patchelf --clear-execstack /home/user/.MathWorks/ServiceHost/-mw_shared_installs/v2024.13.0.2/bin/glnxa64/libmwfoundation_crash_handling.so |
如果出现空白窗口左下显示ready,那么参考(www.reddit.com/r/matlab/comments/1dhejp5/matlab_gui_not_loading_properly_on_arch/),设置环境变量
1 | export _JAVA_AWT_WM_NONREPARENTING=1 |
Download pkg from https://apps.cloud.blackmagicdesign.com/davinci-resolve
1 | git clone https://aur.archlinux.org/davinci-resolve.git |
Repository:
official:
1 | conda env create -f conda.yaml |
不建议使用official的conda.yaml, 使用更改后的conda_cyl.yaml。
1 | pip install torch==2.0.0 torchvision==0.15.1 torchaudio==2.0.1 |
官方提供了 depth estimation 和 segmentation 的 notebook,可以找时间理解一下
使用的数据集为Imagenet-mini
1 | imagenet-mini |
Note: 需要额外添加一个label.txt
使用脚本生产数据集的meta data:
1 |
Semantic-SAM Repository Application

My repository: https://github.com/Chen-Yulin/Semantic-SAM
My venv: ssam
nvidia-smi返回的是driver所能支持的最新的cuda版本
系统安装的cuda版本可以随意,torch会优先使用虚拟环境中安装的cuda版本
安装指定版本cuda-toolkit
1 | conda install nvidia/label/cuda-12.4.0::cuda-toolkit -c nvidia/label/cuda-12.4.0 |
安装最新版本
1 | conda install cuda-toolkit |
某些仓库需要指定cuda路径才能编译包
1 | conda env config vars set LD_LIBRARY_PATH="/home/cyl/miniconda3/envs/gsam/lib/python3.10/site-packages/nvidia/cuda_runtime/lib/:$LD_LIBRARY_PATH" |
Note: 注意改变了库路径之后nvim中的lsp会报错,建议之后改回去
1 | conda env config vars set LD_LIBRARY_PATH="" |
Note: To find the correct path for CUDA_HOME use which nvcc. In my case, output of the command was:
1 | >>> which nvcc |
Therefore, I set the CUDA_HOME as /home/user/miniconda3/envs/py12/.
Note: To find the correct path for LD_LIBRARY_PATH use find ~ -name cuda_runtime_api.h. In my case, output of the command was:
1 | >>> find ~ -name cuda_runtime_api.h |
So I set the LD_LIBRARY_PATH as /home/user/miniconda3/envs/py12/targets/x86_64-linux/lib/ and CPATH as /home/user/miniconda3/envs/py12/targets/x86_64-linux/include/. If you have multiple CUDA installations, the output of find ~ -name cuda_runtime_api.h will display multiple paths. Make sure to choose the path that corresponds to the environment you have created.
ref:https://github.com/IDEA-Research/GroundingDINO/issues/355
Note: Always reboot the computer after the cuda is upgraded
Note: 在更改LD_LIBRARY_PATH后可能会导致neovim的pyright无法运行,所以建议在编译完成后设回该变量
1 | conda env config vars set LD_LIBRARY_PATH="" |
cudatoolkit和cuda-toolkit这两个可以同时安装
如果不安装cudatoolkit可能会在编译时出现ld: cannot find -lcudart: No such file or directory collect2: error: ld returned 1 exit status 报错
使用以下指令获取版本信息
1 | python -c 'import torch;print(torch.__version__);print(torch.version.cuda)' |
1 | 2.0.0+cu117 |
Use SSH to Connect Jupyter-lab
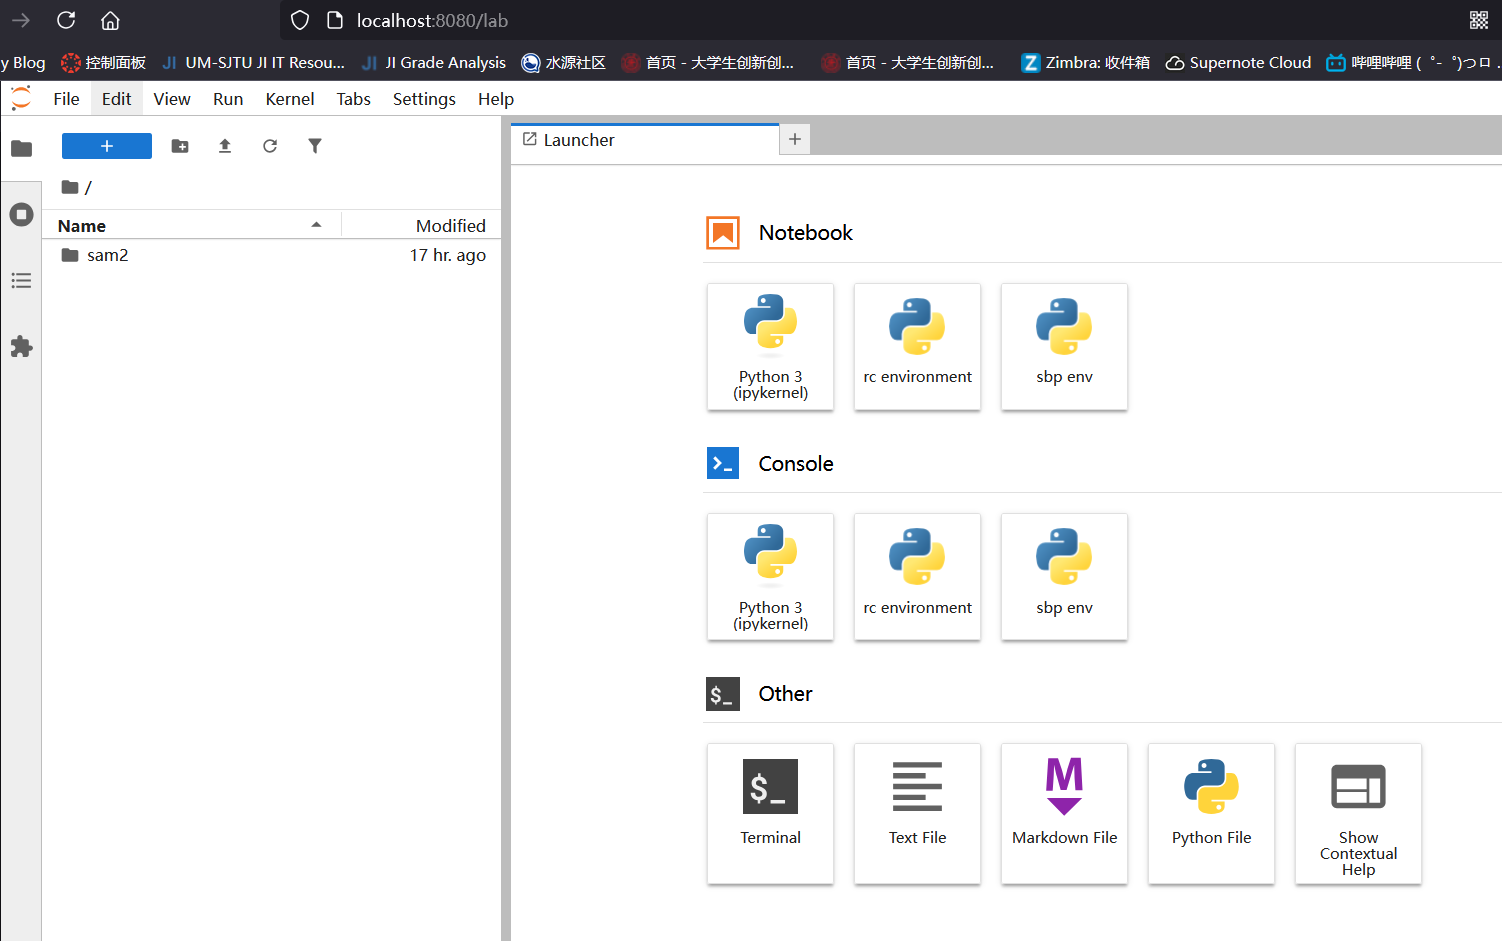
使用ssh作为命令行远程工具,启动远程的jupyter lab并且在本地的浏览器中打开。