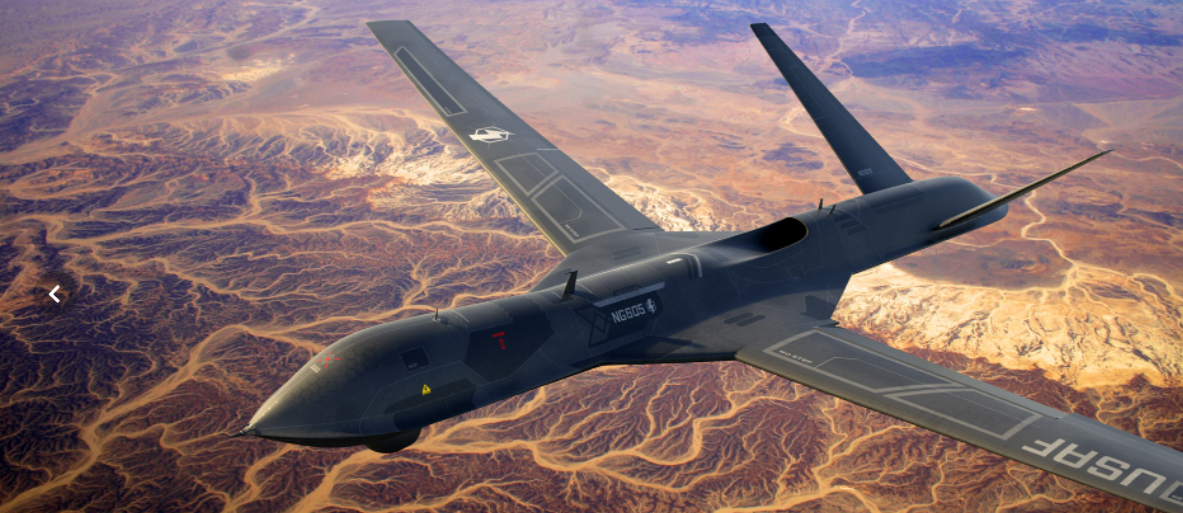
nvidia-smi
返回的是driver所能支持的最新的cuda版本
系统安装的cuda版本可以随意,torch会优先使用虚拟环境中安装的cuda版本
安装指定版本cuda-toolkit
1 | conda install nvidia/label/cuda-12.4.0::cuda-toolkit -c nvidia/label/cuda-12.4.0 |
安装最新版本
1 | conda install cuda-toolkit |
某些仓库需要指定cuda路径才能编译包
1 | conda env config vars set LD_LIBRARY_PATH="/home/cyl/miniconda3/envs/gsam/lib/python3.10/site-packages/nvidia/cuda_runtime/lib/:$LD_LIBRARY_PATH" |
Note: To find the correct path for CUDA_HOME
use which nvcc
. In my case, output of the command was:
1 | >>> which nvcc |
Therefore, I set the CUDA_HOME
as /home/user/miniconda3/envs/py12/
.
Note: To find the correct path for LD_LIBRARY_PATH
use find ~ -name cuda_runtime_api.h
. In my case, output of the command was:
1 | >>> find ~ -name cuda_runtime_api.h |
So I set the LD_LIBRARY_PATH
as /home/user/miniconda3/envs/py12/targets/x86_64-linux/lib/
and CPATH
as /home/user/miniconda3/envs/py12/targets/x86_64-linux/include/
. If you have multiple CUDA installations, the output of find ~ -name cuda_runtime_api.h
will display multiple paths. Make sure to choose the path that corresponds to the environment you have created.
ref:https://github.com/IDEA-Research/GroundingDINO/issues/355
Note: Always reboot the computer after the cuda is upgraded
cudatoolkit
和cuda-toolkit
这两个可以同时安装
如果不安装cudatoolkit
可能会在编译时出现ld: cannot find -lcudart: No such file or directory collect2: error: ld returned 1 exit status
报错
Use SSH to Connect Jupyter-lab
使用ssh作为命令行远程工具,启动远程的jupyter lab并且在本地的浏览器中打开。
远程运行:
1 | jupyter lab --no-browser --port=8080 |
--no-broswer
is very important
output:
1 | ... |
本地运行:
1 | ssh -L 8080:localhost:8080 bohanfeng@192.168.2.102 |
本地浏览器访问:
http://127.0.0.1:8080/lab?token=0061d1eb31396b1bc3cd77a7161b2084da1dedcdeca0600c
Repository: https://github.com/owkin/FLamby
1 | git clone https://github.com/owkin/FLamby.git |
Fed-TCGA-BCRA
https://owkin.github.io/FLamby/fed_tcga_brca.html
1 | import torch |
Import several macros, datasets and metrics.
1 | # Instantiation of local train set (and data loader)), baseline loss function, baseline model, default optimizer |
In this script, the pooled
parameter is set to False
when creating the FedDataset
instances. This indicates that the dataset is not pooled, meaning that the data is kept separate for each client or center. Each client or center has its own local dataset, which is a common setup in federated learning to simulate real-world scenarios where data is distributed across different locations or devices.
1 | # Traditional pytorch training loop |
正常的训练流程
1 | # Evaluation |
使用的evaluation metric是lifelines.utils.concordance_index
,返回的是c_index
1 | import torch |
1 | # We loop on all the clients of the distributed dataset and instantiate associated data loaders |
1 | # Federated Learning loop |
仓库: https://github.com/Simple-Robotics/cosypose
1 | git clone --recurse-submodules https://github.com/Simple-Robotics/cosypose.git |
注意执行这一步的时候pip 会提示setuptools 和matplotlib-inline不符合3.7.6的python,到环境中手动安装适配的版本
1 | conda activate cosypose |
1 | git lfs pull |
根据README下载数据
注意第一块指令无法下载成功,由 https://bop.felk.cvut.cz/datasets/ 得知下载链接迁移到了huggingface, https://huggingface.co/datasets/bop-benchmark/datasets/tree/main/ycbv 可以从这里手动下载测试集并放置到local_data/bop_datasets/ycbv/test
设置测试使用的models
1 | cp ./local_data/bop_datasets/ycbv/model_bop_compat_eval ./local_data/bop_datasets/ycbv/models |
np.where(mask)[0].item()
运行
1 | export CUDA_VISIBLE_DEVICES=0 |
时出现报错
1 | Traceback (most recent call last): |
添加debug输出,得到
1 | Debug - scene_id: 48, view_id: 1 |
发现是下载的测试数据集并不包含数据集keyframe.txt中所有的帧,导致一些关键帧识别不到
如果想重新开始新的训练: 清空local_data/joblib_cache
cosypose.scripts.run_cosypose_eval
The script predicts object poses based on multi-view input by following these steps:
Dataset Loading: It first loads the dataset using the make_scene_dataset
function, which prepares the scene data for evaluation. The dataset is wrapped in a MultiViewWrapper
to handle multiple views.
Model Loading: The script loads pre-trained models for pose prediction using the load_models
function. It loads both coarse and refiner models based on the configuration specified in the command-line arguments.
Prediction Setup: The script sets up the prediction parameters, including the number of iterations for coarse and refiner models, and whether to skip multi-view processing based on the number of views specified.
Multi-view Prediction: The MultiviewScenePredictor
is initialized with the mesh database, which is used to predict poses across multiple views. The MultiviewPredictionRunner
is then used to run predictions on the dataset, leveraging the multi-view setup to improve pose estimation accuracy.
Pose Estimation: The script uses the loaded models to predict object poses. It processes detections from either pix2pose
or posecnn
depending on the dataset, and refines these predictions using the refiner model.
Evaluation: After predictions, the script evaluates the predicted poses using the PoseEvaluation
class. It calculates various metrics like ADD-S and AUC to assess the accuracy of the pose predictions.
Results Logging: Finally, the script logs the results, including evaluation metrics, and saves them to a specified directory.
The multi-view approach allows the script to leverage information from different viewpoints, which can help resolve ambiguities and improve the robustness of the pose estimation.
run_custom_scenario
Transformation from Camera to Object.
It represents the transformation matrix or parameters that describe the pose of an object relative to the camera’s coordinate system
Transformation from World to Object.
It represents the transformation matrix or parameters that describe the pose of an object relative to the world’s coordinate system
1 | class MeshDataBase: |
一般使用的初始化方式:
1 | object_ds = BOPObjectDataset(scenario_dir / 'models') |
也可以通过load models一起加载:
1 | predictor, mesh_db = load_models(coarse_run_id, refiner_run_id, n_workers=n_plotters, object_set=object_set) |
Multiview_wrapper
作用:
读取 scene_dataset 并且通过视角数量n_views
来分割这些数据为不同场景,然后方便遍历其中的场景元素(这里都是ground truth)
遍历时返回的值为
n_views
张不同视角下的RGB图像n_views
张对应的maskn_views
份对应的observation1 | scene_ds_pred = MultiViewWrapper(scene_ds, n_views=n_views) |
1 | [ |
MultiviewPredictorRunner
作用:
接收Multiview_wrapper
作为输入,并做出预测
首先是数据集接收:
1 | dataloader = DataLoader(scene_ds, batch_size=batch_size, |
use collate_fn
to process the row data (最后的注释里面有真正用到的数据)
1 | def collate_fn(self, batch): |
最重要的function: get_predictions
1 | def get_predictions(self, pose_predictor, mv_predictor, |
Responsible for generating predictions for object poses in a scene using both single-view and multi-view approaches.
Input Parameters:
pose_predictor
: single view predictor,比如ycbv数据集用的就是posecnn的检测模型mv_predictor
: An object or function that predicts scene states using multi-view information.detections
: A collection of detected objects with associated information, pre-generated and saved in a .pkl filen_coarse_iterations
, n_refiner_iterations
: Number of iterations for coarse and refinement pose estimation.sv_score_th
: Score threshold for single-view detections.skip_mv
: A flag to skip multi-view predictions.use_detections_TCO
: A flag to use detections for initial pose estimation.Filtering Detections:
需要注意的是这里使用的detection是直接来自预存好的检测数据(非ground truth)
1 | posecnn_detections = load_posecnn_results() |
detections
based on the sv_score_th
threshold.scene_id
and view_id
.Iterating Over Data:
dataloader
.Matching Detections:
Pose Prediction:
pose_predictor
to get single-view predictions.Multi-View Prediction:
skip_mv
is False
, it uses the mv_predictor
to predict the scene state using multi-view information.Collecting Predictions:
Concatenating Results:
MultiviewScenePredictor
作用:
used by Myltiview_PredictionRunner.get_predictions
In run_cosypose_eval
we initialize MultiviewScenePredictor
in this way:
1 | mv_predictor = MultiviewScenePredictor(mesh_db) |
In the MultiviewScenePredictor
we use the mesh_db to initialize MultiviewRefinement
and solve:
1 | problem = MultiviewRefinement(candidates=candidates_n, |
The solve
function of MultiviewRefinement
:
1 | def solve(self, sample_n_init=1, **lm_kwargs): |
准备基于run_custom_scenario
进行修改run_custom_scenario
的使用方式:
1 | python -m cosypose.scripts.run_custom_scenario --scenario=example |
1 | Setting OMP and MKL num threads to 1. |
该脚本只接收了candidates, mesh_db和camera_k信息,直接运行mv_predictor
写一个通过list输入构建candidates的function:
1 | def read_list_candidates_cameras(self, data_list, cameras_K_list): |
1 | # Example usage: |
1 | (PandasTensorCollection( |
之后就正常调用MultiviewScenePredictor.predict_scene_state()
to estimate the scene:
1 | predictions = self.mv_predictor.predict_scene_state(candidates, cameras, |
之后再使用Non-Maximum Suppression来聚合重复检出的物体
1 | objects = predictions['scene/objects'] |
最终输出objects_
1 | PandasTensorCollection( |
Please refer to the notebook custom_scene.ipynb
.
代码仓库:
https://github.com/Chen-Yulin/Unity-Python-UDP-Communication
传输的数据为字符串:
1 | def SendData(self, strToSend): |
需要包含的信息:物体种类,物体的三轴方位,三轴旋转,三轴尺寸。
格式:
1 | {Object Detection} |
示例:
1 | {Object Detection} |
需要包含的信息:6 个 joint 角度(单位为度)
格式:
1 | {Current Joint} |
需要包含的信息:6 个 joint 角度(单位为度)
格式:
1 | {Target Joint} |
https://github.com/Siliconifier/Python-Unity-Socket-Communication
仓库:https://github.com/liuyuan-pal/Gen6D
手册:https://github.com/liuyuan-pal/Gen6D/blob/main/custom_object.md
步骤指令:
1 | python prepare.py --action video2image --input data/custom/part1/ref.mp4 --output data/custom/part1/images --frame_inter 10 --image_size 960 |
关于判定不准确怎么解决:https://github.com/liuyuan-pal/Gen6D/issues/29
unity 使用左手坐标系,普遍的 6d 算法使用右手坐标系,所以得出[R;t]后需要做一步针对 y 轴的反射变换
1 | def right_to_left_hand_pose_R(R): |
可以看到效果很好:
使用 pyRobotiqGripper
但是只兼容 linux 电脑的串口,所以部署在笔记本上并且创建一个局域网服务器供台式机调用。
1 | import pyRobotiqGripper |
1 | (base) cyl@arch ~/450> python gripper_test.py |
台式机通过
1 | # 定义要发送的命令和URL |
来控制